




Mesh Wi-Fi router systems are officially mainstream, and they’ve become cheap enough that almost anyone should consider them when trying to improve network coverage for their home. It’s worth noting early on that throwing additional mesh Wi-Fi nodes at a network problem isn’t always a viable solution to coverage and speed issues. In fact, strategic placement of mesh router nodes matters much more than the number of access points in a system. Even the best mesh Wi-Fi networks likely won’t beat wired Ethernet connections.
That said, not everyone has the ability or the desire to wire Ethernet throughout their home. I’m a renter, and my current apartment only offers one working coaxial jack for an internet connection. The few Ethernet jacks throughout the apartment aren’t functional, and even if they were, the Cat 5-based infrastructure would be slower than Wi-Fi. Like many of you reading this article, my only option is wireless networking. Luckily, making the switch to a simple mesh system solved all my speed and coverage problems.
I can’t use wired Ethernet runs — mesh is the perfect solution
A mesh system gives me great coverage and Ethernet ports
If given the chance, I’d probably go into debt to get fiber internet and run multiple wired Ethernet connections to every room. One day, I’ll make that a reality. For now, my apartment is wired for just one internet provider, Cox, which uses coaxial cables to deliver a maximum of 1-Gigabit connections. Although wired Ethernet connections are always preferred, Wi-Fi 6E and Wi-Fi 7 routers are more than capable of handling 1-Gig speeds. I invested in a Google Nest Wi-Fi Pro system, built on Wi-Fi 6E, to handle internet connections throughout my apartment.
Before switching to a mesh Wi-Fi system, using a traditional router provided download speeds between 300Mbps and 400Mbps. That wasn’t nearly enough of the 1-Gig speed I was paying for, so I needed to make the switch. Google’s Nest Wi-Fi Pro mesh system is incredibly easy to set up, and it can fit into almost any networking situation. In my case, I used a primary Wi-Fi router connected directly to my modem over Ethernet, and spaced two more mesh access points throughout my apartment.
Credit: Brady Snyder / MakeUseOf
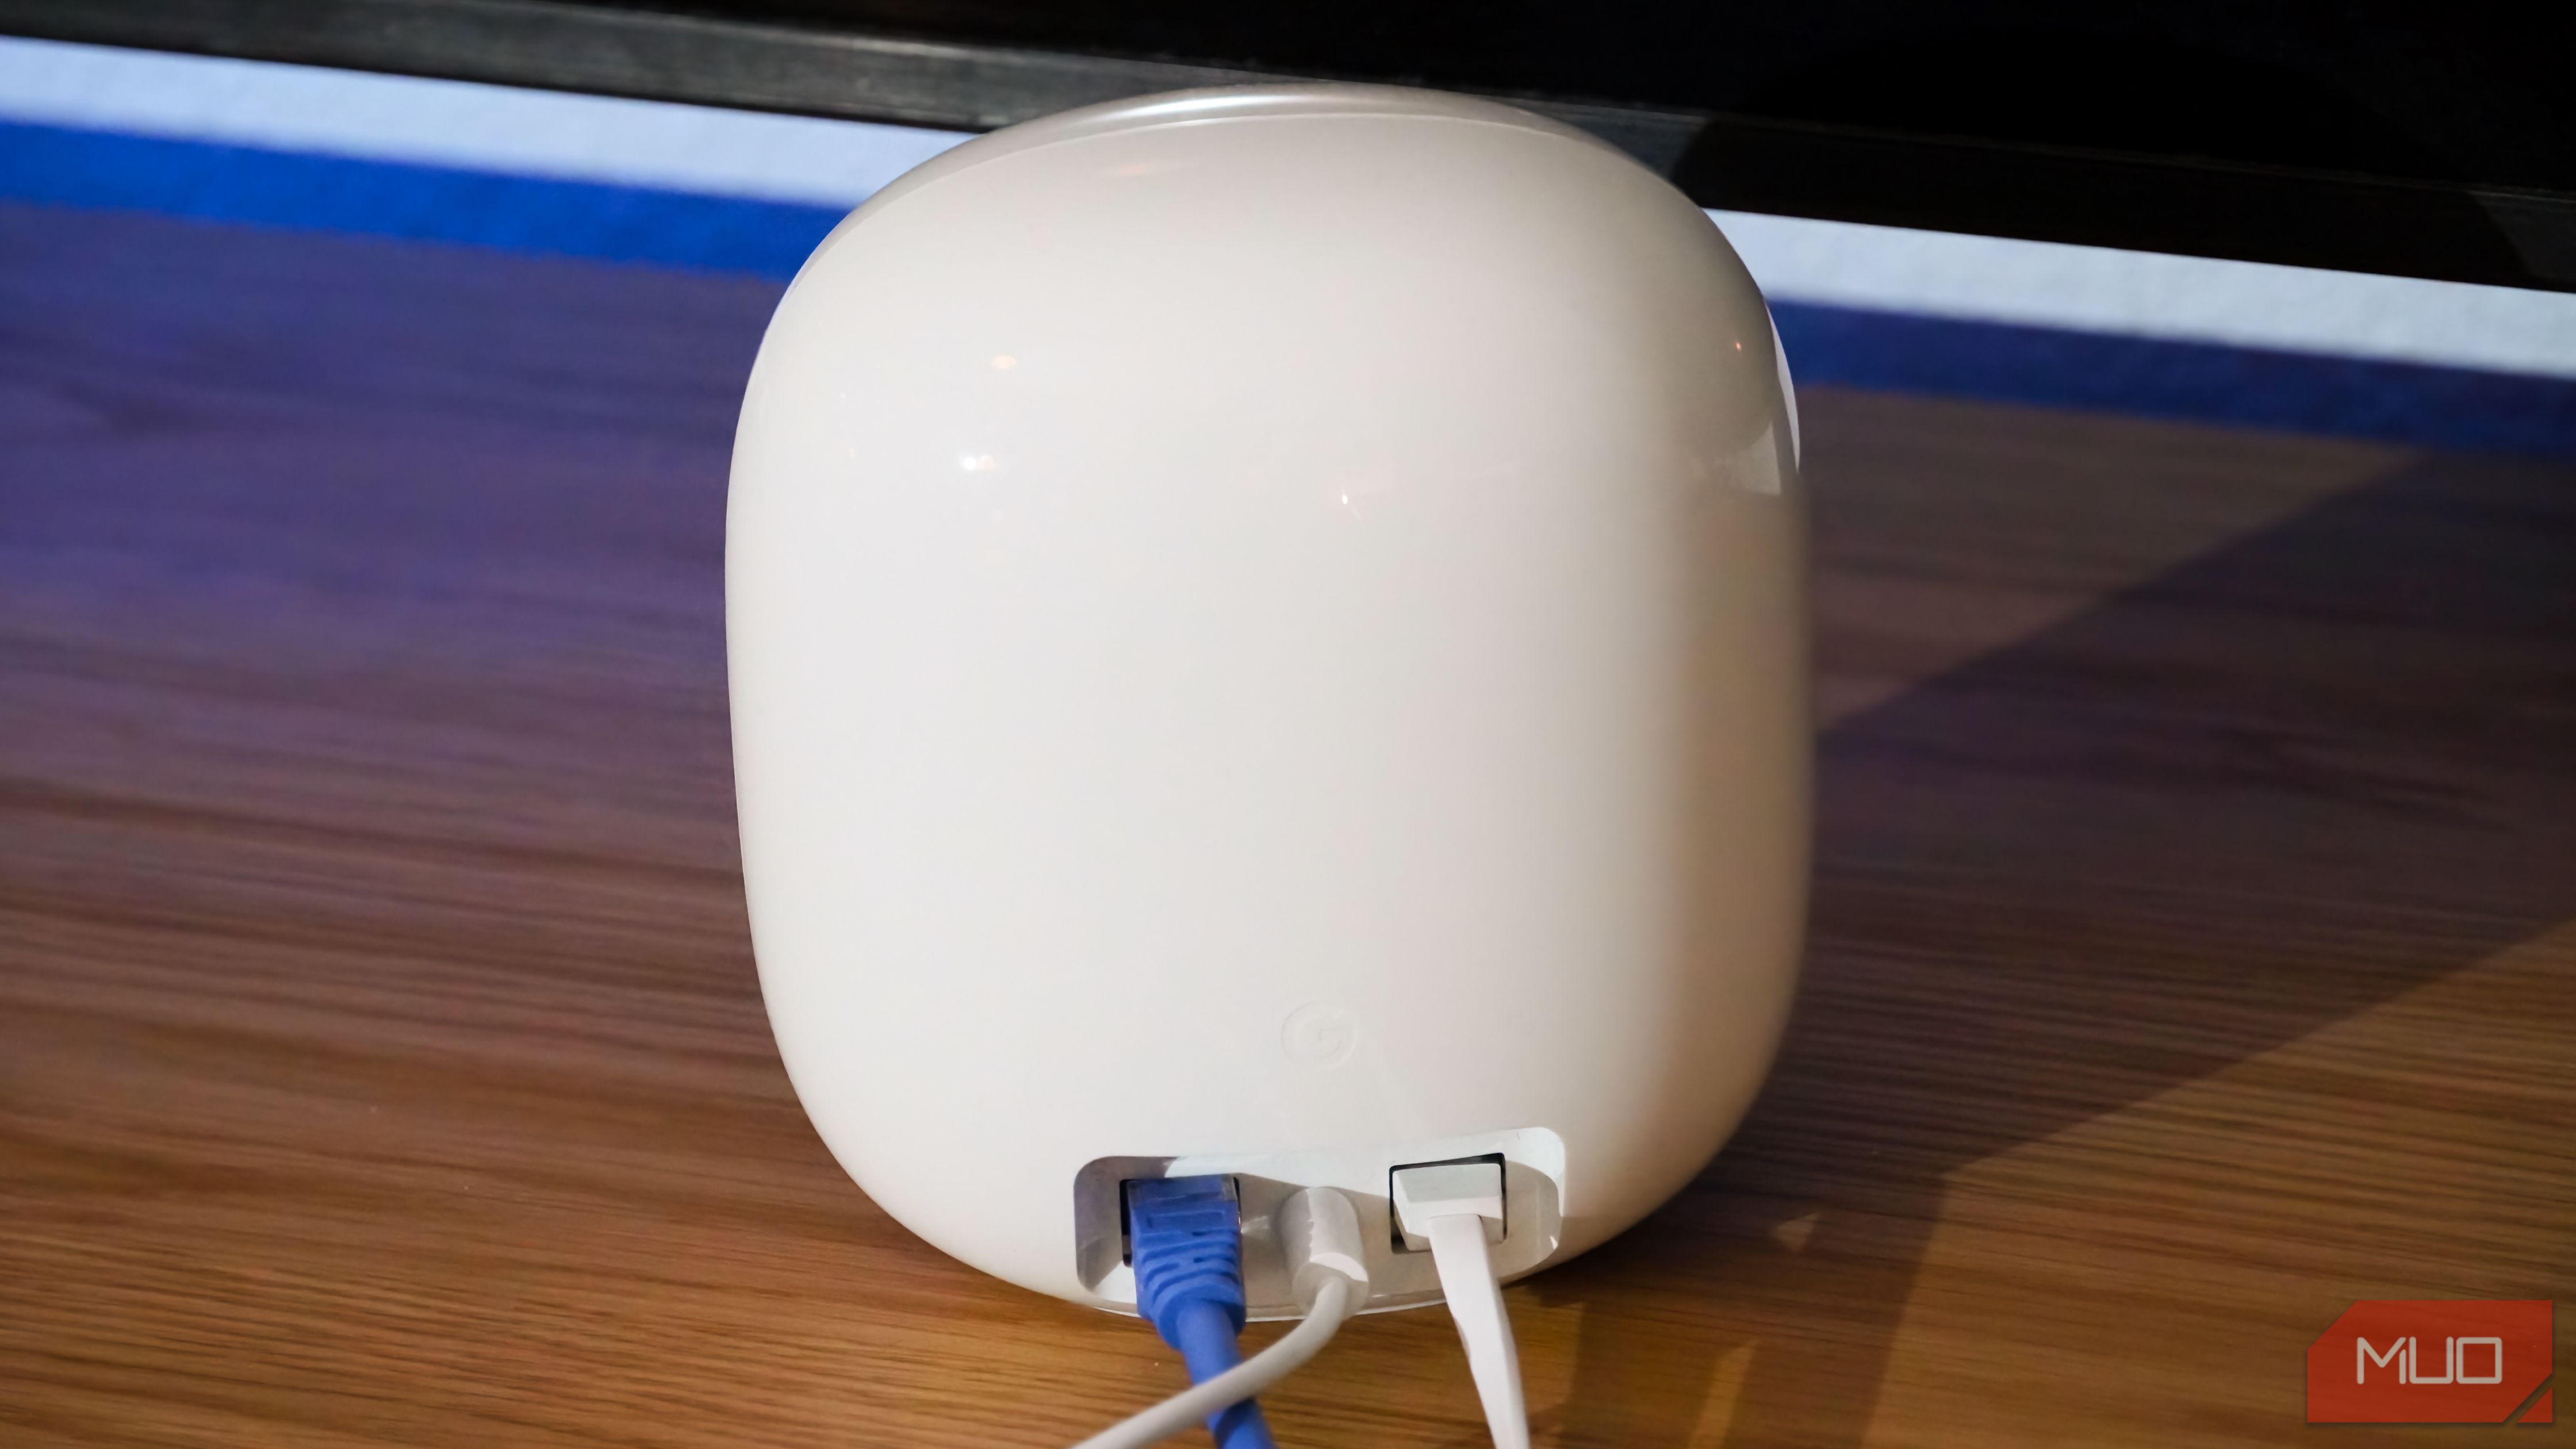
Google lets you use the Nest Wi-Fi Pro mesh system with either a wired or wireless backhaul. I connected the mesh router notes wirelessly, since running Ethernet cables throughout my apartment for each access point would be impractical. However, I added an Ethernet switch to the primary Wi-Fi router to connect nearby devices — including a streaming box and gaming console — over a wired connection.
The secondary mesh Wi-Fi notes connect to the primary router wirelessly in this setup to extend the network’s usable range. Each Nest Wi-Fi Pro router has its own Ethernet output for wired connections, even when set up using a wireless backhaul. I put a Nest Wi-Fi Pro wireless access point in my office and connected my computer to the node’s onboard Ethernet jack for slightly faster speeds. Using this method is still nowhere near as good as a true wired connection, but it does cut out one wireless connection in the chain, improving stability and performance as a result.
Mesh Wi-Fi nodes helped me cover my entire apartment
I avoid interference and poor speeds by spreading access points around
Wi-Fi 6E is more than capable of hosting 1-Gigabit network speeds with the right equipment, and I was eager to see just how much of my available speeds could reach my devices over Wi-Fi using this mesh setup. The Google Nest Wi-Fi Pro system absolutely blew me away. As you can see in the photo above, I regularly hit over 900Mbps download speeds on my home network using Nest Wi-Fi Pro routers. I was thrilled to get this level of performance out of a wireless network.
As with any mesh network, positioning the nodes in the right place is crucial. It’s not a “set it and forget it” kind of thing — you should test out different access point placements to see which arrangement provides the best speeds. If access points are too close together, you may experience slower speeds or dropped connections, because your devices aren’t sure which node to connect with.
Additionally, it’s important to avoid overcorrection. If there’s a dead zone in your home, don’t place an access point directly in that spot. Instead, put a mesh Wi-Fi node midway between the dead zone and your primary router, as this will allow the access point to successfully bridge the gap and extend the range of your system.
For the best performance, try to get mesh Wi-Fi access points off the ground. Ideally, these should be out in the open and in line-of-sight with each other. Google recommends Nest Wi-Fi Pro nodes be placed no further than two rooms away from each other, ideally without obstructions between them. Obstacles like doors and walls can limit Wi-Fi range, which is one reason I need a mesh router system in a midsize two-bedroom apartment.
I found the best mesh Wi-Fi setup by using the built-in test available in the Google Home app. The router’s software continuously monitors your mesh system and can recommend changes if things go awry. You can always test the stability and speed of your Nest Wi-Fi Pro system by navigating to Wi-Fi → Points → Test mesh in the Google Home app and waiting for the results.
Related
I changed one router setting and my Gigabit Wi-Fi 6E setup finally felt fast
Your router’s prioritize device tool could help you avoid low-bandwidth devices from slowing down things you need to be fast.
Other perks of my Google Nest Wi-Fi Pro mesh system
I use Nest access points as Thread border routers for a smooth smart home
There’s a lot to like about the Google Nest Wi-Fi Pro mesh system, chief among them is how it just works. I’m aware that isn’t the case for everyone, but my Nest Wi-Fi Pro system is the first router solution I trust. Each access point doubles as a Thread border router, powering your smart home — this helps for stronger connections and lower latency when an abundance of Matter-over-Thread smart home devices are active.
I’ve also been thrilled with the default Google DNS and handy features like device prioritization and preferred activities. There’s a lot of work going on behind the scenes to ensure performance is sharp using the Nest Wi-Fi Pro, and I’ve continued to see the benefits. Switching to this mesh Wi-Fi system eliminated my dead zones, improved my wireless speeds, and simplified my home networking setup.


