

Camera accessories are some of my favorite things to 3D print. Photography can be an expensive hobby, and one that rewards experimentation and creativity.
Thankfully, a 3D printer makes it easy to try things out for a few cents’ worth of raw materials and a short wait.
How bokeh shapes work
Controlling the shape of light as it enters your lens
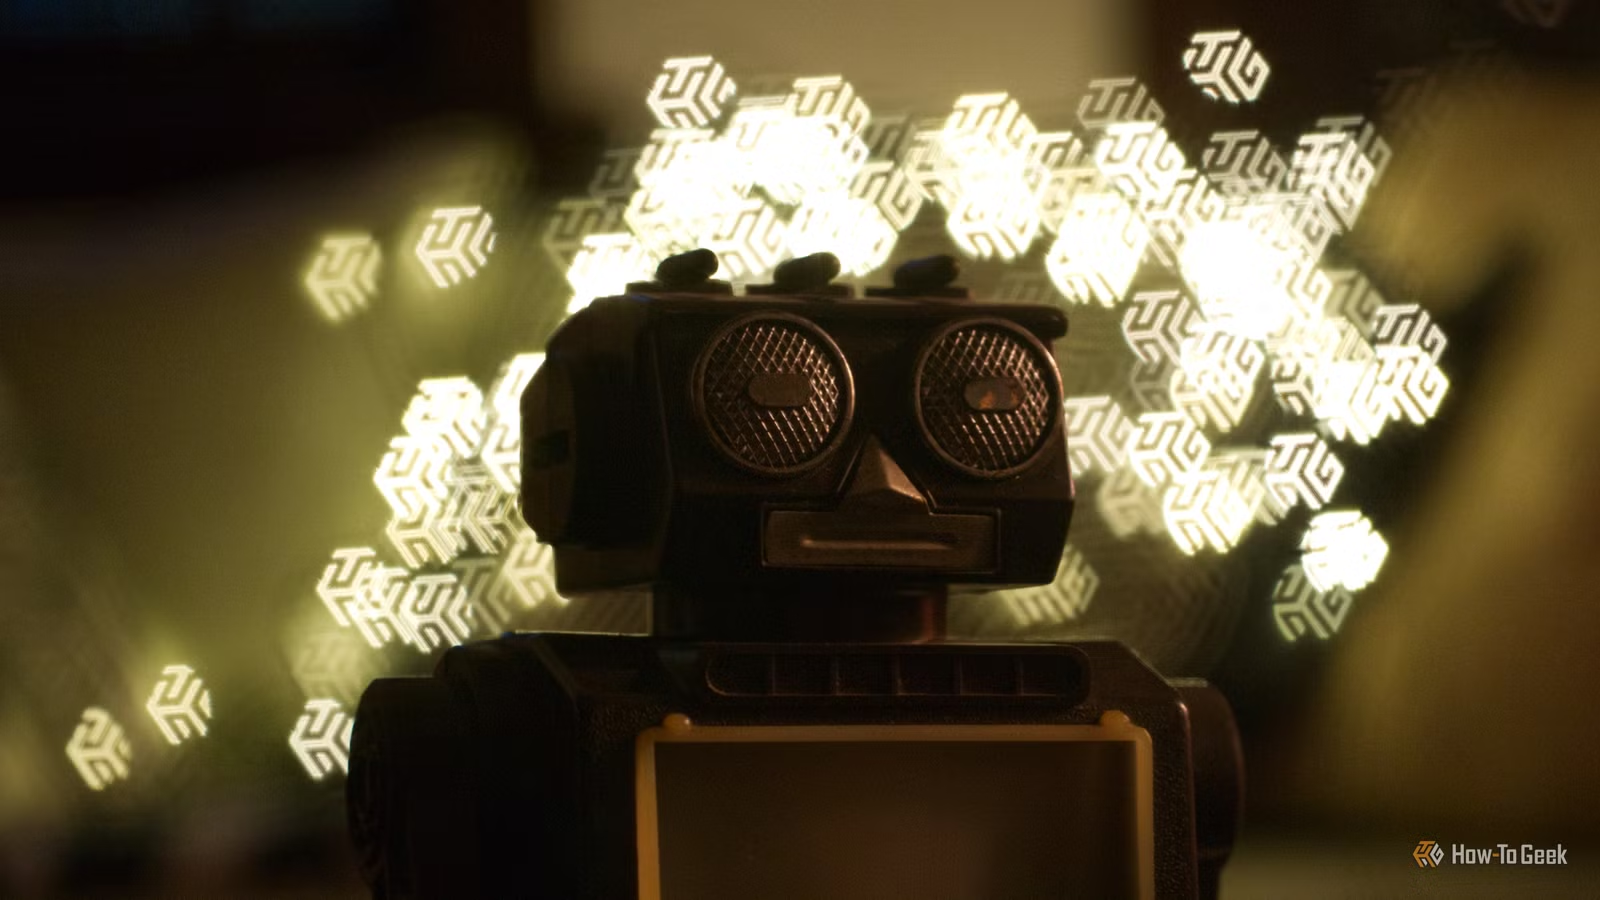
Have you ever seen a dimly-lit photograph where the lights in the background are blurry but take on a specific shape? The blobs are more commonly known as bokeh, and they usually take on the shape of the aperture ring in your lens. The more blades on the ring, the more edges your bokeh lights will have.
What’s happening here is that the out-of-focus areas, particularly the easy-to-pick-out smaller lights, are taking on the shape of the light as it enters the lens. You can use this to your advantage with filters that fit over the lens and create specific shapes.
Generally speaking, the higher the aperture (which means a lower f-stop number, like f/1.8), the “better” the bokeh. The effect has its limitations, however, which is why it’s commonly used in a few specific scenarios. It’s very popular in festive scenes, like adding stars to the back of a Christmas tree, but there’s no reason it has to be limited to this use.
Shapes like hearts and paw prints can be used any time of year, as long as the background of your scene makes it easy to pick these out in the final image. This could be far-off lights in a landscape scene, fairy lights or garden lights on a warm summer night, or candles in a restaurant at night.
You need a good separation between subject and background, which is where a high aperture comes in. You also need a decently long lens (which means a higher focal length), since the effect requires covering the lens with a filter. If the lens is too wide, the filter itself will be visible on the photo and cause the image to vignette.
Print your own adapters and filters
Only print the ones you need
This effect has seen popularity among photographers who like experimenting, but it usually requires a bit of manual work. Ordinarily, you’d need to trace a shape and cut it out, then place it on your lens and find some way of keeping it there.
If you’re not particularly good at cutting out shapes, you might find this to be a challenge. Making adapters out of card is all well and good, but they don’t last like those made from even the cheapest PLA 3D printing filament. It can also be difficult to cut out finer details without damaging the filter.
Credit: Tim Brookes / How-To Geek
Printing an entire set of bokeh effect filters took just over 30 minutes including calibration time, and cost me just over 5g in filament. The adapter took about the same amount of time. I used black filament for maximum light blocking ability and only printed the adapters I thought I’d actually use.
Also included with the set is a solid filter, which I decided to have some fun with.
Make your own bokeh shapes in your slicer
Your mileage may vary
With the solid black filter included, creating your own shapes is relatively trivial. I did this with the How-To Geek logo, but I wasn’t sure if it would work at all. Thankfully, it did!
Credit: Tim Brookes / How-To Geek
To do this, I simply dragged the logo SVG file into Bambu Studio onto the build plate I was using. I right-clicked on it and used Split > To objects to separate the various parts of the logo, focusing on just the “HTG” bit, then deleted the rest. I then selected all of the remaining chunks and grouped them with the Merge option in the right-click menu.
From here, I scaled the logo to fit inside the disc, then used the Move tool to make the two intersect. I hit Mesh Boolean, selected Subtract, and made sure that the logo was being subtracted from the disc (and not the other way around) before hitting Execute.
The end result was a disc with the HTG logo cut out of it. You could do this with basically any shape that you can import into your slicer of choice. Typically, this requires an SVG file to work properly (it doesn’t work with transparent PNGs, for example).
Credit: Tim Brookes / How-To Geek
You can do this relatively easily with a free app like Inkscape. Bambu Lab even has a tutorial for this on its wiki.
I actually downloaded a 49mm adapter (with larger 40mm filters) before printing the 46mm adapter (with 28mm filters). My 24mm Sony lens was too wide, so I had to settle on a longer and slightly narrower Sigma 60mm lens instead.
Even with both sets printed, the filament cost was utterly trivial. The last time I used the HTG logo was on a 3D-printed t-shirt transfer.
