


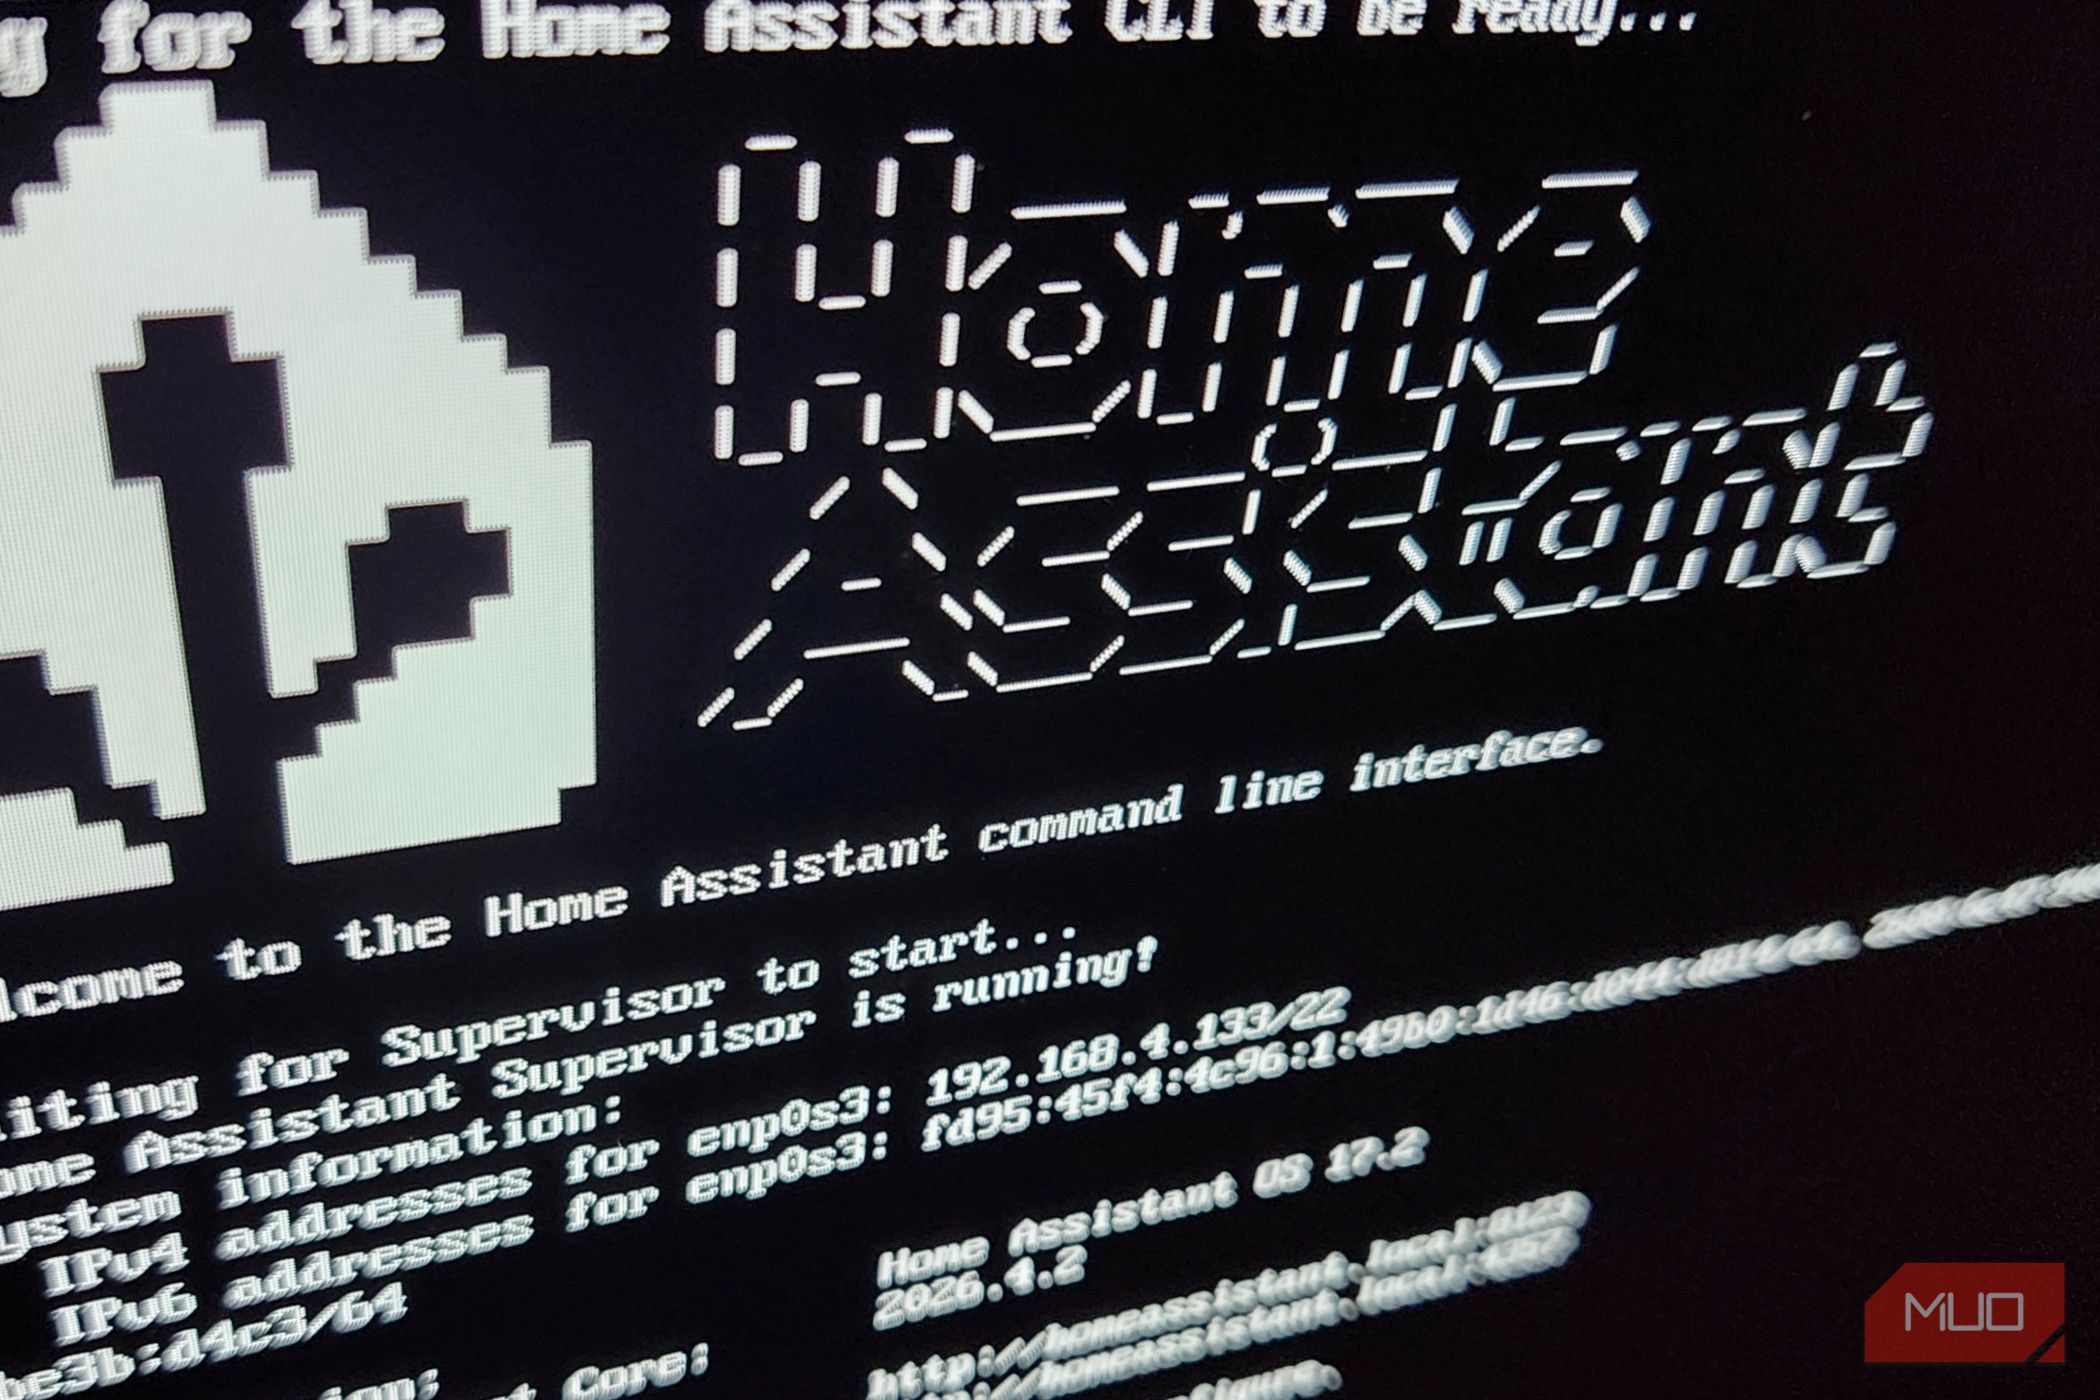
I’ve taken it upon myself to learn a bit more about Home Assistant once again, especially after spending a whole weekend figuring out how to install it on a Chromebook. While that project has essentially devolved into running Linux on a Chromebook instead of Chromebook OS, I was curious to see other ways that I could get Home Assistant OS running on things I already own. Turns out, it’s actually quite easy, and doesn’t take nearly as much time as that project did.
You may have an old PC lying around the house, or a laptop that’s past its glory days. If you’ve got a ton of smart-home stuff in your home, and a little bit of time to spare, you can run HAOS on just about anything. Even if you’re still doing your daily tasks alongside it.
Related
Your smart home cameras are about to work way better together thanks to a new Matter update
Better streaming means better support across more devices
Installing Home Assistant OS on an old PC or laptop
Give that decade-old device a new lease on life, and try out HAOS on it
There are a lot of things you can do with an aging laptop or desktop that don’t necessarily end with them becoming e-waste. You can turn them into retro gaming consoles, if that’s your thing, or run an older OS on them and experience the golden oldies of yesteryear. Or, you can install Home Assistant OS and have an always-on machine that is constantly discovering new things you can do with your home. By using something like Rufus to create a bootable flash drive, you can eliminate the old OS from your device and breathe some new life into it relatively quickly. This is known as a “bare-metal” installation, and turns the PC into a dedicated server. You’ll also need to verify that your device supports UEFI (Unified Extensible Firmware Interface), along with disabling Secure Boot. HAOS can sometimes say that “no bootable medium was found” if this feature isn’t supported. Most modern PCs and laptops from the past decade or older do offer UEFI support; however.
While this method does completely remove the ancient OS that was likely on your device, the minimum specs for HAOS will make that ancient device burst forth from the ashes like a phoenix. Seeing as the operating system can run just fine on a Raspberry Pi, any laptop or desktop made within the past decade or so wouldn’t have an issue running this incredibly well. At least 2GB of RAM and a 2-core CPU should get you up and running, and the more you have, the better it’ll run.
Run it on a virtual machine on your desktop
This has become my go-to way of running HAOS regularly
Credit: Shaun Cichacki/MUO
If you have a fairly beefy PC, running a virtual machine shouldn’t be much of an issue. As long as you’ve got a spare 2GB of RAM and two cores of a CPU that you can spare while you’re doing other things, running HAOS is fairly easy. Install a virtual machine of your choosing, like VirtualBox, install the image, and follow the instructions given on the Home Assistant web page. While it claims that it’s an “Expert” level installation, it’s much easier than you may expect.
The added benefit of running Home Assistant OS on your main desktop is that you won’t need to access the user interface on a different computer. If you use the bare-metal installation above, it removes Windows or whatever other operating system may have been on the device. Seeing as the virtual machine runs HAOS alongside Windows, you can put the VM on a virtual desktop and access the web interface on the same PC.
To access the Home Assistant web interface on your device, open a browser and visit the following page:
This will be your graphical interface and your access address. This is where you’ll interact with Home Assistant on your PC.
Using Docker on Windows, Mac, or Linux
Just run the official Home Assistant container image, and you’re almost done
Tashreef Shareef / MakeUseOfCredit: Tashreef Shareef / MakeUseOf
Now, for the most complicated “easy” option here. No matter which way you go about the installation, it’s going to require a little bit of research beforehand and during. While the Home Assistant web page says that a Windows installation via a VM is “Expert” level, it’s a bit easier than Docker. Even then, Docker is still rather simple to get up and running once you understand how to do it. After installing Docker on your PC, find and create a homeassistant folder where you’ll remember to access it. From there, create a new text file called compose.yaml, and insert the following code block into it:
services:
homeassistant:
container_name: homeassistant
image: “ghcr.io/home-assistant/home-assistant:stable”
volumes:
– /PATH_TO_YOUR_CONFIG:/config
– /etc/localtime:/etc/localtime:ro
restart: unless-stopped
privileged: true
ports:
– “8123:8123”
If you’re on Linux, replace the entire “ports: – “8123:8123” with the following:
The network_mode option doesn’t play well with macOS or Windows, but is needed for Linux.
You’ll need to replace the /PATH_TO_YOUR_CONFIG portion with the actual path on your PC. If you leave it the same as this particular code snippet above, things aren’t going to run properly. In the same folder you created for the Docker installation, you’ll also want to run the following via Command or PowerShell:
docker compose up -d
This “detaches” and runs the container in the background, so it doesn’t tie up anything in the terminal. If you’re still struggling to understand Docker or what it does, let our resident Linux expert give you a proper “TED Talk” on it. As someone who struggled to understand what Docker was really all about, this helped simplify the process and made it make much more sense to a more “Windows-minded” user. Just like with the VM version, you’ll need to access homeassistant.local:8123 to use your web interface. You can also use the Home Assistant app on your mobile device to interact with your setup, making it more touch-friendly and interactive on your favorite devices.
Home Assistant is complex, but worth the effort to use
If you’re hoping to take your smart home game to the next level, Home Assistant is the program to do it with. It takes a bit of time to get up and running properly, but once you’ve got everything ready to roll? It becomes second nature to use. You can even use something like Google Gemini to help you come up with some wild automations that you’d never be able to do in the Google Home or Alexa app.
It’ll take some time and effort to get Home Assistant running on any of these devices, but if you want your smart home to get a seriously smart upgrade, it’s the way to do it.
OS
iOS, Android
Price model
Free & Open-Source
App Type
Smart Home Moitoring
Open-Source?
Yes
