



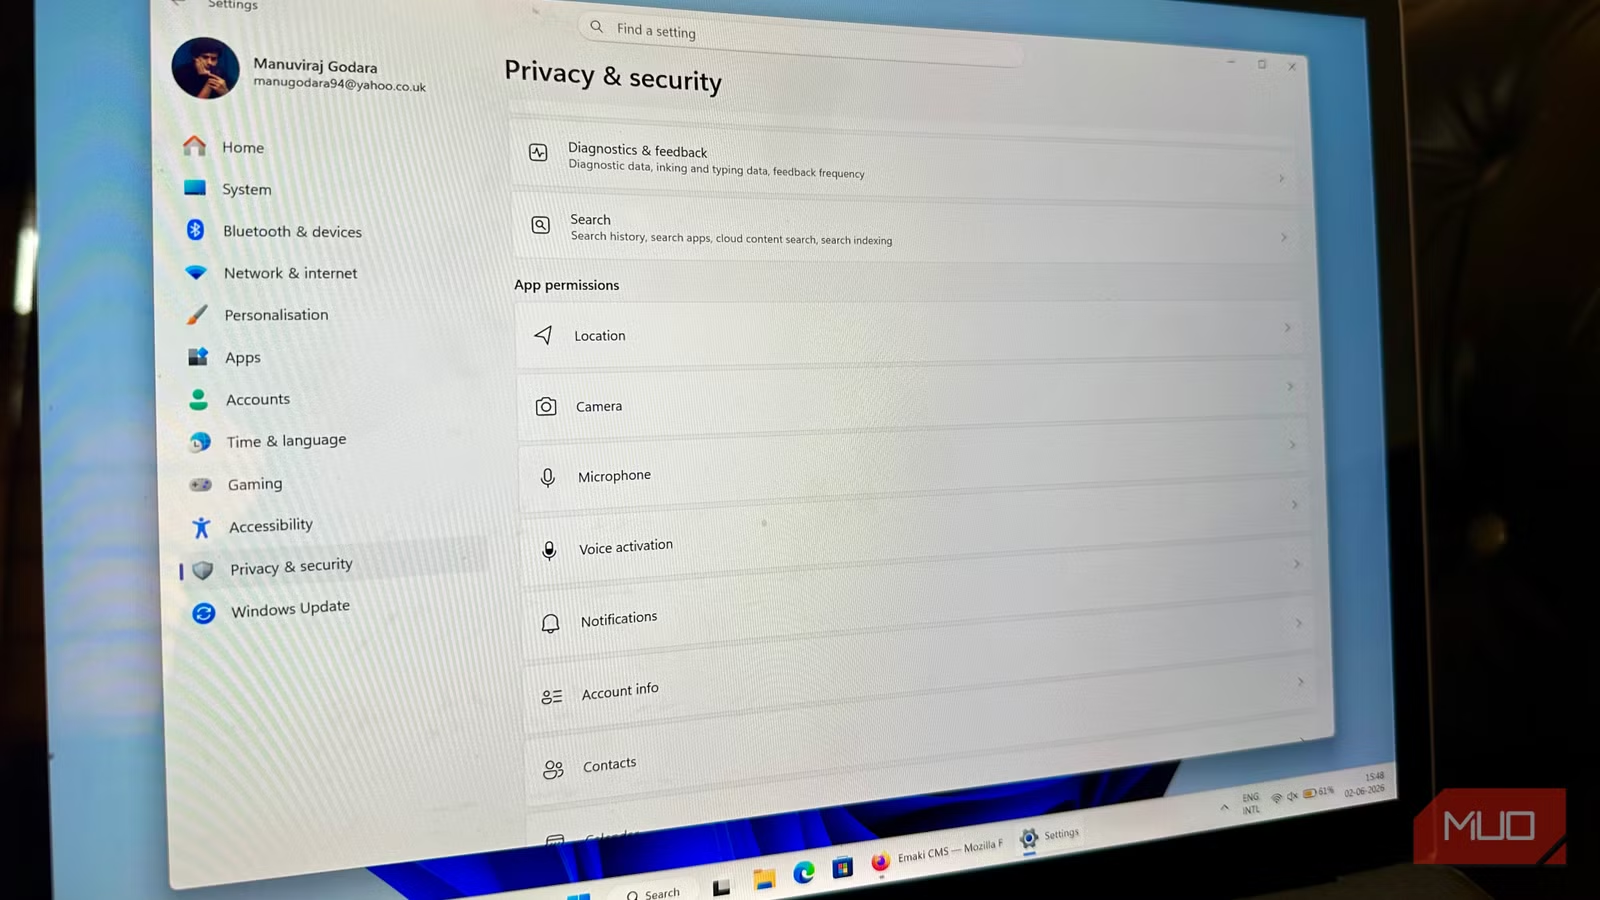
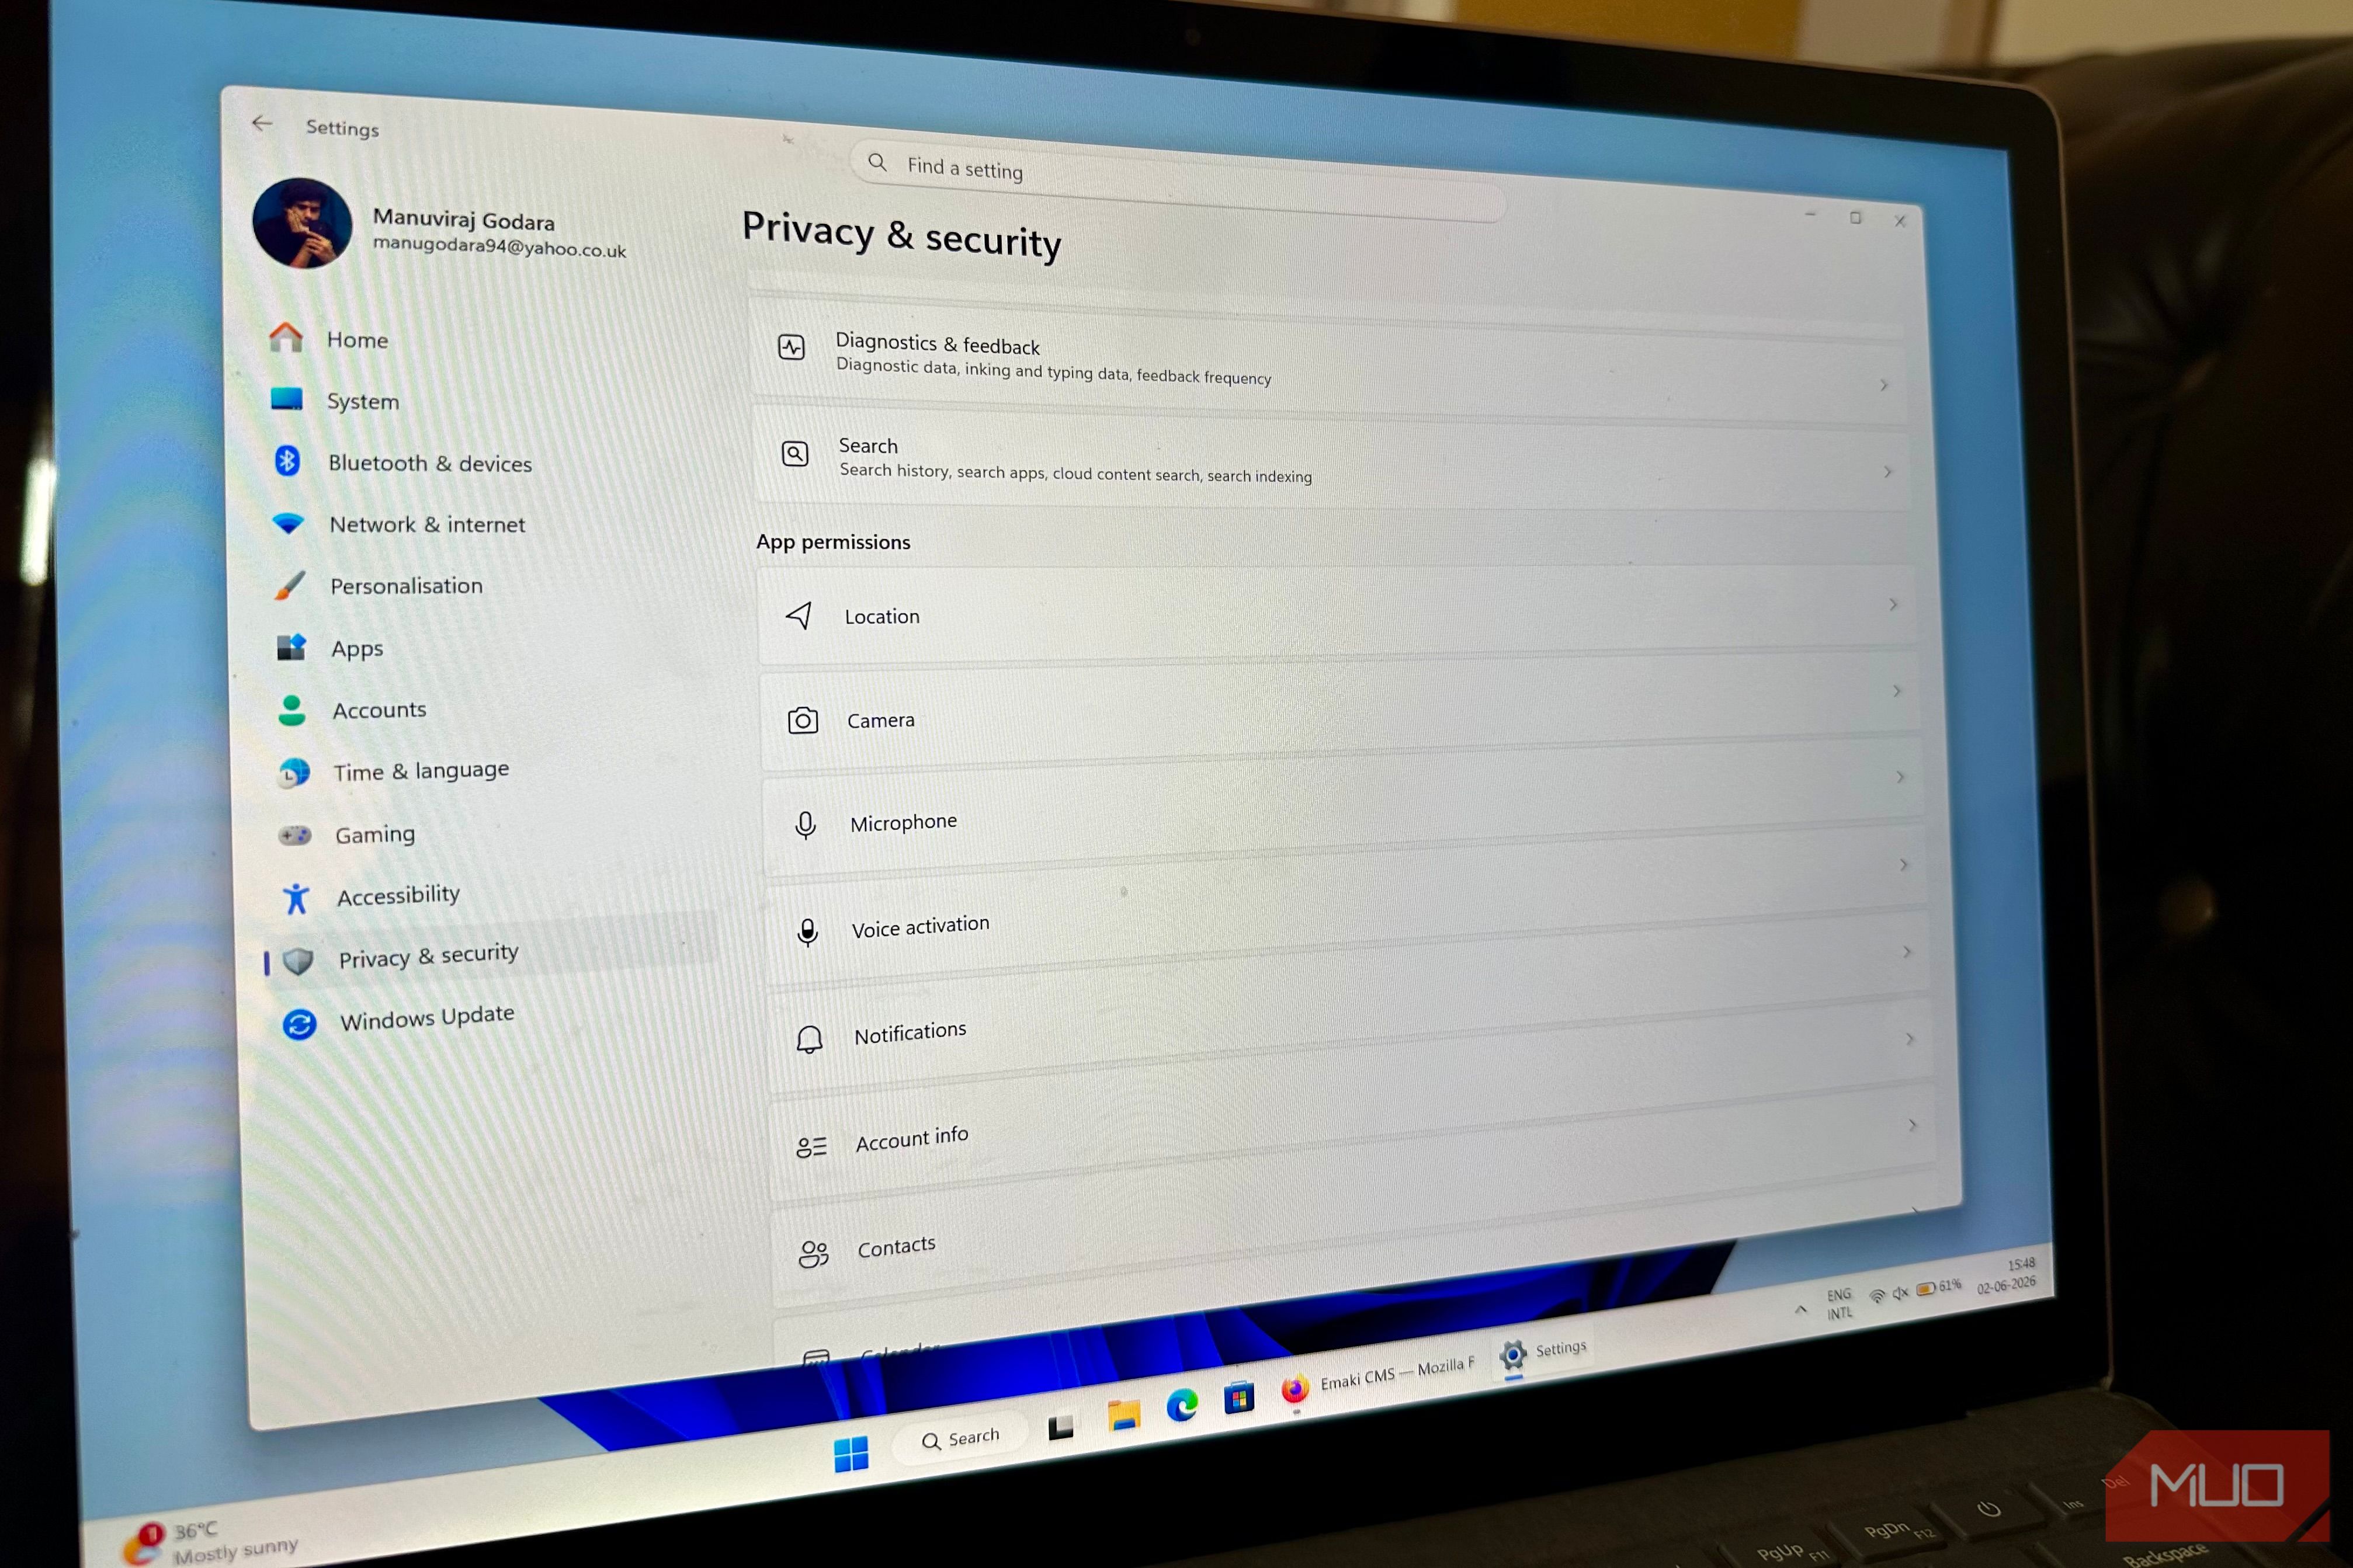

Over the years, Microsoft has ‘smoothed out’ the way you customize your computer. Many old settings have been moved to the Settings app. Yet, most of us still find ourselves accessing the Control Panel to make an oddly specific tweak. This isn’t because Microsoft is lazy and can’t migrate these options to the Settings app, it’s because some of these options are wired so deeply into how Windows actually works that you can’t just dumb them down to a few clean toggles without breaking something.
Folder Options
If you want to do more than just view hidden files
Windows still hides system files and file extensions by default. The most common way of showing hidden files and file extensions is to use the View tab in File Explorer. This wasn’t always the case: before Windows 8, you’d need to access the full-fledged Folder Options window to make these changes. But, the Folder Options window (now called File Explorer Options) contains a lot more settings that you still won’t find in File Explorer’s View tab.
The simplest way to access the Folder Options window is to search for it in Windows Search (Windows Key + S). Keep in mind that it will show up as File Explorer Options in Windows 10 and Windows 11. Alternatively, you can access it using Control Panel -> Appearance & Personalization -> File Explorer Options.
Related
6 hidden Windows folder tricks that open settings Microsoft buried
Discover hidden Windows folders and buried settings that make your PC faster.
There’s a lot of stuff you can do using File Explorer Options that you can’t use the View tab. You can set File Explorer to open to This PC, Home, or your OneDrive folder using the Open File Explorer to drop-down menu. One of the first things I do after each fresh Windows install, is enable the Display the full path in the title bar option which can easily be done using File Explorer Options. You can also use it to modify how search operates in File Explorer.
Windows Sound Panel
The Settings app sends you to More Sound Settings anyway
The Sound page in Settings is more fleshed out than you’d expect. You can manage sound devices just fine, run the troubleshooter, access the volume mixer, and even adjust the bit depth and sample rate. That’s more than enough for most people. However, more granular changes still need to be made using the sound settings in the Windows Control Panel.
The quickest way to access the advanced sound settings page is via Run: press Windows Key + R, type mmsys.cpl, and press Enter. Alternatively, you can get to it using Sound in the Control Panel, or by clicking More Sound settings in the default Sound settings page in the Windows Settings app.
The Sounds tab lets you modify Windows sounds such as the startup chime, notification sound, low battery alerts, etc. In addition, you can set a distinction between the default communications device (for Zoom calls and related stuff) and the default audio device (for music, video games, movies, etc.). You can also control whether apps are allowed to take exclusive control of an audio device, useful for audiophiles and music producers using a DAW, external DAC, and other such equipment.
System Properties
The five tabs that run your PC
Chances are you’ve used System Restore on your Windows computer at least once. It’s a feature that’s been around since Windows ME and hasn’t changed much. The way to access and modify it hasn’t changed much either: you do it via System Properties, not the Settings app. In fact, the Settings app doesn’t even let you make basic changes to System Restore.
The Run app is the best way to access System Properties: use the Windows Key + R shortcut and type sysdm.cpl in the text box. To access and modify System Restore, click on the System Protection tab. System Properties contains several other important settings that power users may find useful: you can modify the paging file setting, startup-related settings, and Remote Assistance options.
Related
9 Default Windows Settings That Make Your Life Harder
Stop settling for a subpar Windows experience.
System Properties lets you adjust how Windows behaves visually too. To do so, click the Advanced tab, choose Settings, in the Performance section, and click on Visual Effects. You can choose from presets that favor either appearance or performance, or you can create your own custom preset.
Printer Server Properties
Print management is still a Control Panel job
The Settings app will usually redirect you to a Control Panel settings window if you want to make any real printer-related changes. You can do basic stuff like adding a printer on your Wi-Fi, setting one as default, printing test pages, and canceling a stuck job using the Settings app. However, for other stuff, it’s practically useless.
Again, the fastest way to access the legacy printer settings is to use the Run app. Open the Run app, type in printui /s and press Enter. You’ll see a whole host of useful print settings that are absent in the Settings app.
For starters, you can add a custom paper size using the Forms tab, which is necessary if you want to use non-standard photo paper and receipt rolls. Additionally, you can move the spool folder off your C: drive using the Advanced tab. This is useful if you want spooling on a faster disk.
Related
I Can’t Use a New Windows Computer Until I Change These 9 Settings
I like to start off on the right foot with my new PC.
The Control Panel won’t die anytime soon
For all its faults, Windows does promise backward compatibility and continues to support ancient software and hardware. This is precisely the reason why it can’t do away with a lot of these legacy settings that don’t have a Settings app equivalent. Rebuilding them as clean toggles would mean rewriting the plumbing underneath, a risk that is simply too high for the sake of a more modern interface.


