

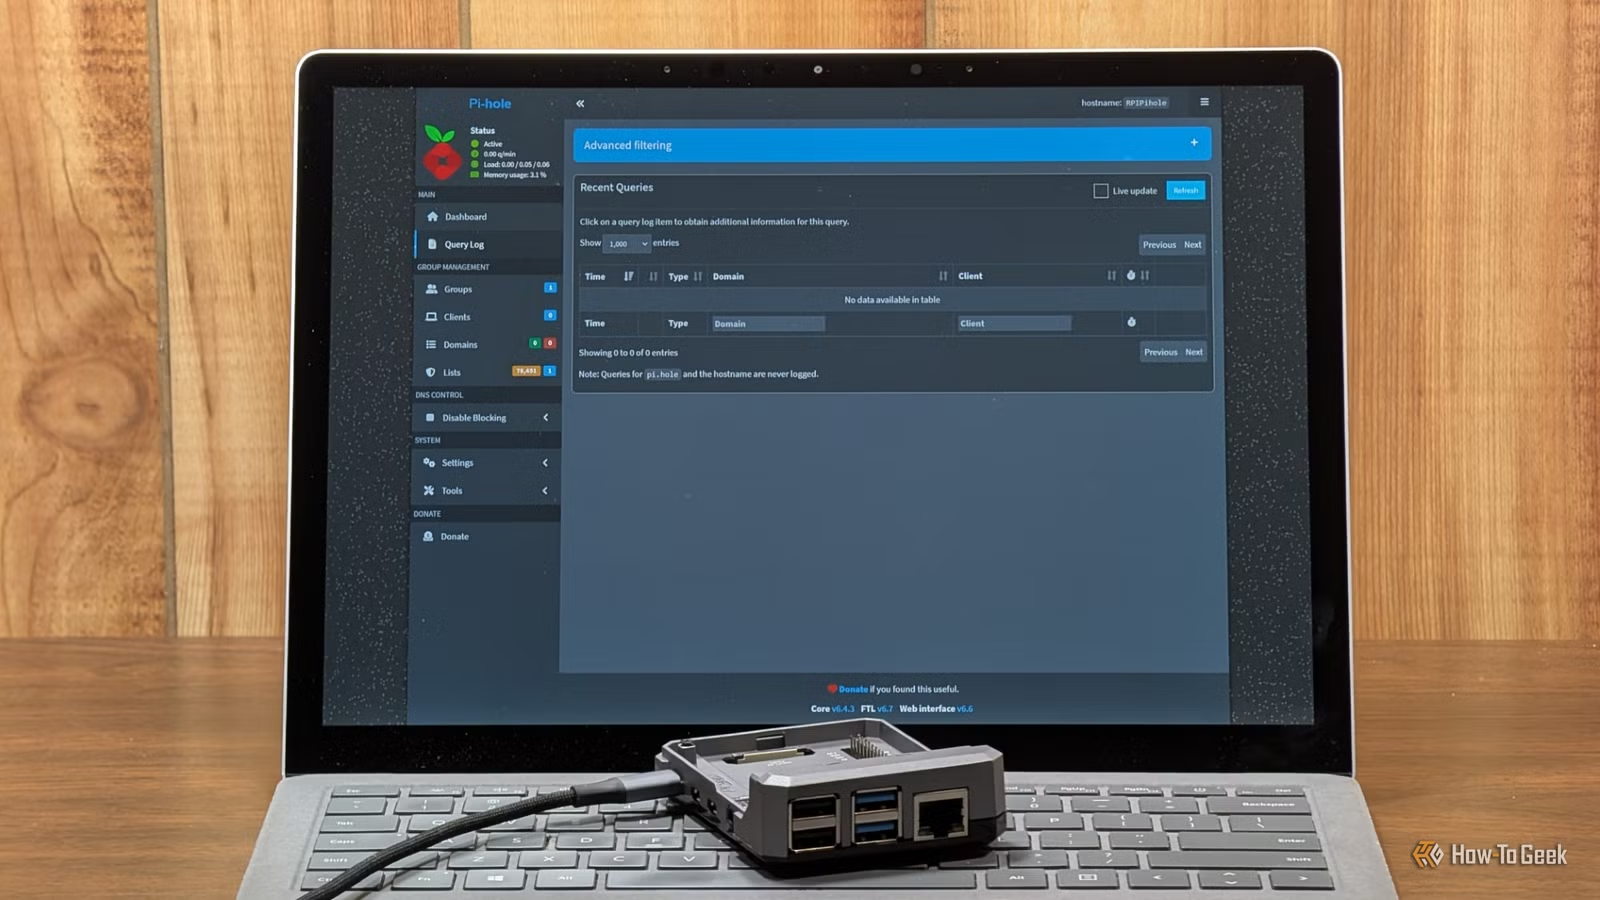
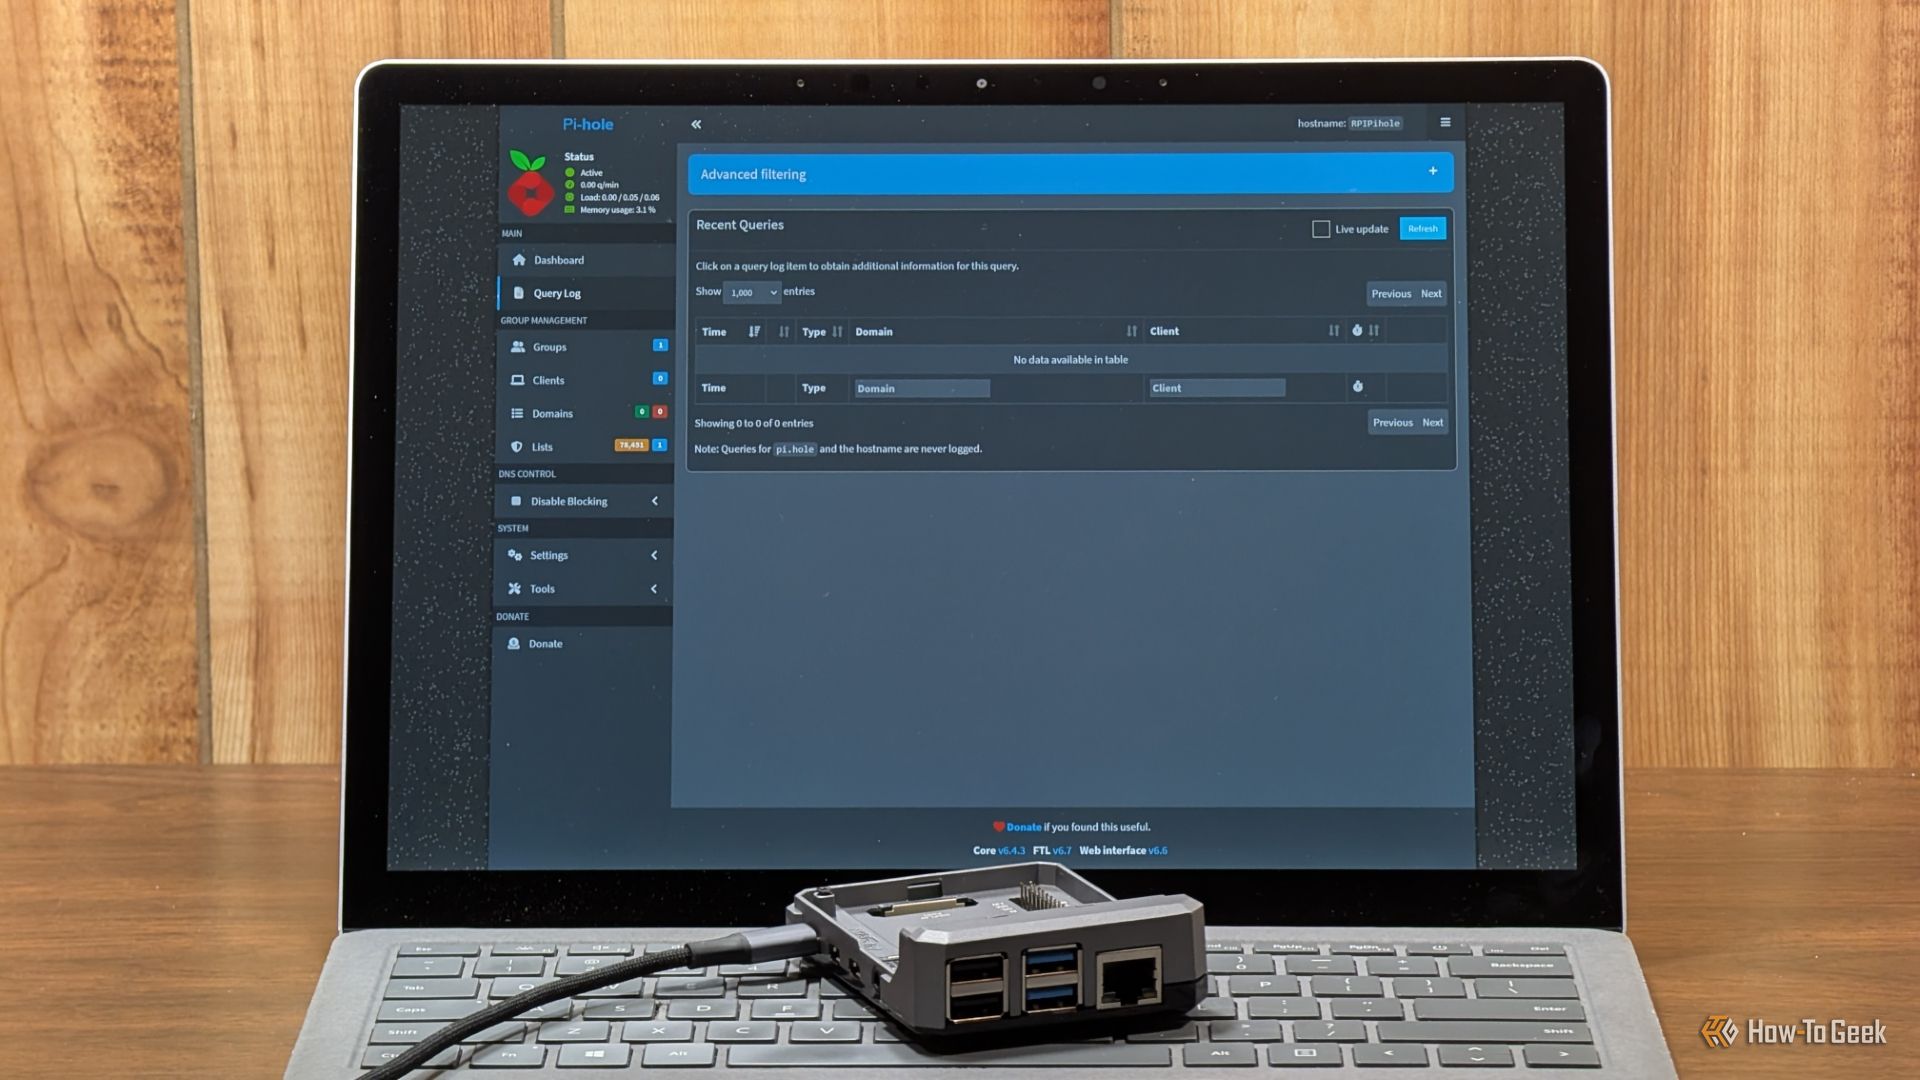
Your router provides a basic list of connected devices, a speed test, and maybe a few port forwarding rules, but consumer routers are notoriously bad about giving you real control of what the devices on your network are doing. You can’t usually spot a device phoning home when it is supposed to be off, or a device sending way more queries than it could possibly need.
Luckily, the solution is simple: some free software and a $20 Raspberry Pi will do the trick.
What does a DNS filter Pi-hole even do?
It sees every DNS request from your whole network
A DNS filter basically acts as a gatekeeper for your network’s traffic. Every time a device on your network wants to visit a website or connect to a server, it has to resolve a domain name into an IP address. Under normal circumstances, that process is handled by an external DNS server, which just sends back the desired information.
However, when you add a DNS filter like a Pi-hole into the process, it has the ability to monitor and selectively block specific domains before they’re forwarded to a DNS server. As a result, you can effectively block some ads and malicious domains before your devices ever have a chance to connect to them.
Brand
Raspberry Pi
CPU
Quad-core 64-bit ARM Cortex-A53
Memory
512MB of SDRAM
The Raspberry Pi Zero 2 W is super tiny and super affordable, but it packs enough computing power for a variety of DIY projects. You can use it to create a handheld retro gaming console, for Klipper/Mainsail, a super compact home or media server, and more.
And, because of where a DNS filter usually sits in your network layout, every device routes through it automatically, which has two benefits. First, it means that you don’t need to manually configure every device—one DNS filter covers the whole network. Second, it means that you have complete visibility of every DNS request going out from every device on your network. While you can get that kind of information from prosumer and professional grade routers, most consumer routers (including the one provided by my ISP) give me zero visibility of that information. The devices communicating on my network can effectively do so without scrutiny.
You set this as your network’s DNS at the router level, meaning every device routes through it automatically. You don’t need to install client software or browser extensions on every single phone and laptop in the house. The real utility comes from the web dashboard and query log, which give you a window into every request hitting your network. Since these tools are free and open-source, you can run them on a cheap Raspberry Pi—even an old Pi 3 or a Zero 2 W—a Docker container, or any Linux PC that stays powered on.
Related
Your ISP is tracking everything you do online: Change this one setting right now
Your internet provider is logging your web history—here is the 60-second fix
Should you use Pi-hole or AdGuard Home as a DNS filter?
There is a lot of debate in the self-hosting community about whether you should use Pi-hole or AdGuard Home. Having tried both, I’m slightly partial to Pi-hole, but they basically perform the same function, and there is an argument to be made that AdGuard Home is both simpler and a little bit better.
However, you really can’t go wrong with either; they’ll both give you way more visibility of your network activity than your ISP-provided router will.
A Pi-hole showed me things my router never could
A live log of every domain every device is talking to
The most jarring thing about firing up a Pi-hole (or AdGuard Home) server for the first time is the sheer amount of traffic going through your network. You’ll see exactly which domains every phone, laptop, and TV is contacting, complete with a time log and device names.
Once you have that information in hand, it quickly becomes obvious which devices are “chattier” than others. In the past, I found that my TCL Roku smart TV was very chatty before I blocked it. My robovacuum also spends a ton of time phoning home.
Privacy and control over your information
No one wants their data collected and monetized, even if we accept that it is sometimes an unavoidable part of using smart technology. Fortunately, once you have a DNS filter up and running, not only can you see which devices are a little too communicative with telemetry servers, you can also just block them.
With a Pi-hole active, it is as easy as clicking Deny right next to an entry. Just be careful that you don’t get overzealous—blocking too many things can render some smart devices inoperable.
Setting up a Pi-hole
One install script and a single change on your router
To get started, pick your hardware. Any spare Raspberry Pi or a Docker container on a NAS will work. If you choose Pi-hole, use the one-line installation script or the official Docker image. AdGuard Home offers a similar script and a guided setup wizard that simplifies the process.
Once installed, you need to ensure that all of the devices on your network forward their queries through it. You do this by setting the Pi’s IP address as the DNS server in your router’s DHCP settings.
Start with the default blocklists and monitor the query log to see what’s being caught. If something breaks, just add that domain to your allowlist.
For the cost of a spare Pi, you finally get to see your own network
For the price of a Pi (and you don’t need a fancy one, even a Pi Zero 2W can work), you get a huge amount of control over what your network is doing. Even if you don’t exercise that control, it is good to know which devices on your network spend an inordinate amount of time phoning home or communicating with the outside world.
And, if you want, you can easily extend the functionality of Pi-hole or AdGuard Home to obfuscate your DNS lookups from your ISP or conventional DNS servers; it just takes a bit of setup first.
